12 Fun Wedding Ideas
October 4, 2023

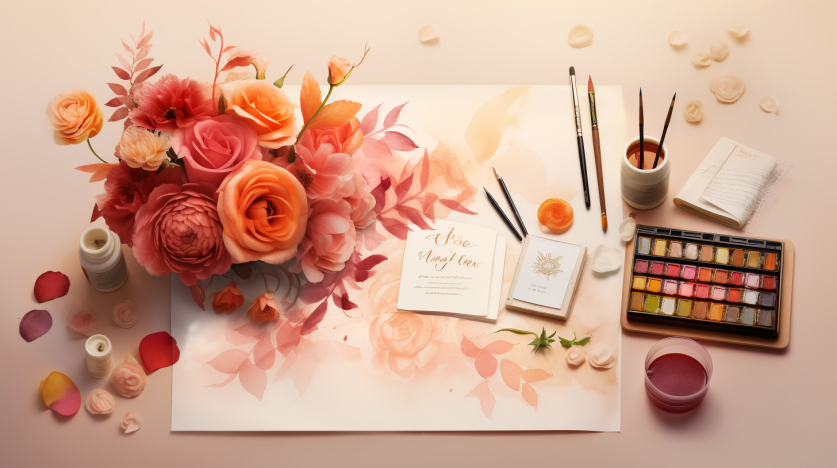
You’re tying the knot and want to add a personal touch to your big day. Why not start with your invitations? Don’t be daunted! With creativity, you can craft invites to wow your guests and set the perfect tone for your wedding.
We’ll guide you through choosing styles, colors, and content. So, roll up your sleeves, and let’s start designing your wedding invitations – it’s easier than you think!
Before designing your wedding invitations, you must understand the basics to ensure they are beautiful and practical. Let’s explore the artistic world of invitation etiquette and paper quality.
Picture a canvas where etiquette paints respect, and quality sets the tone. Your invitation isn’t just a tool but a work of art reflecting your style. It’s where tradition waltzes with innovation.
The dance of fonts, colors, and words is choreographed in the ballroom of paper quality. The texture and the weight speak volumes about the event.
Etiquette is your guiding star, steering you away from social faux pas. The feather-light touch on a guest’s shoulder says, ‘You’re important to us.’
Now that you’ve grasped the essentials of wedding invitation design let’s delve into the exciting task of choosing your invitation style. Your style should echo the tone of your wedding, whether that’s traditional, modern, or offbeat.
Invitation budgeting is a key consideration. Will you opt for opulent gold-leaf embellishments or a simple yet elegant design?
Your invitation material choices can add a unique touch. If you’re going for a rustic theme, why not consider a wood-grain paper? For a luxe affair, consider silk or velvet. You could even incorporate materials with special meaning, like recycled paper for eco-conscious couples or lace for a vintage feel.
Often, you’ll find that choosing the perfect color scheme for your wedding invitations can be just as crucial as selecting the style. Your colors should reflect not just your taste but also the theme and mood of your big day. Here’s a simple guide to help you achieve that:
Ultimately, your invitations should be a colorful prelude to your beautiful wedding.
Once your invitation’s color scheme is set, it’s time to focus on the heart of your wedding invite: the content. This is where invitation wording etiquette comes into play. Start with the basics: the who, what, when, and where.
But don’t stop there. Your invites should reflect your unique love story. Consider incorporating personal anecdotes that resonate with your journey. The story of your first date or a shared hobby may have sparked the romance. Use this as a creative springboard.
Craft every word with love and intention, ensuring each sentence adds a touch of your flair. Remember, this is more than just an invite; it’s a sneak peek into your upcoming nuptials. Make it unforgettable.
After meticulously crafting the content of your invitations, you’re ready to dive into the process of printing and assembling them. This stage is where your creative vision starts to take tangible form.
For cost-effective invites, consider DIY invitation materials. Craft stores sell affordable cardstock, markers, and stencils. Learn invitation printing techniques like block printing, which adds a personal touch without breaking the bank.
You can incorporate your wedding theme into your invitations by mirroring its color schemes and incorporating that into your designs. Tailor your invitation wording to reflect the mood and style of your celebration too.
You’ll need a well-planned design timeline. Allocate at least three months for creating, proofreading, and sending out your invitations. This will ensure you have ample time for revisions, printing, addressing, and finally, mailing them out.
Absolutely! It’s your invitation, so you’re free to include digital elements. Use digital etiquette when adding items like QR codes. They’re a creative way to share additional details or add a personal touch.
Avoiding common design blunders is crucial. Don’t overlook the importance of typography selection—it’s essential to readability. Likewise, a poorly chosen color scheme can detract from your message. Always aim for harmony and legibility.
So, you’ve learned the ropes of designing your wedding invitations. From understanding the basics, choosing your style, and selecting a color scheme to crafting content and printing.
Now, armed with creativity and personal touch, you’re ready to create an invitation uniquely yours. Remember, these aren’t just pieces of paper; they’re your guests’ first taste of your big day.
So make them special, make them you, and let the anticipation build!